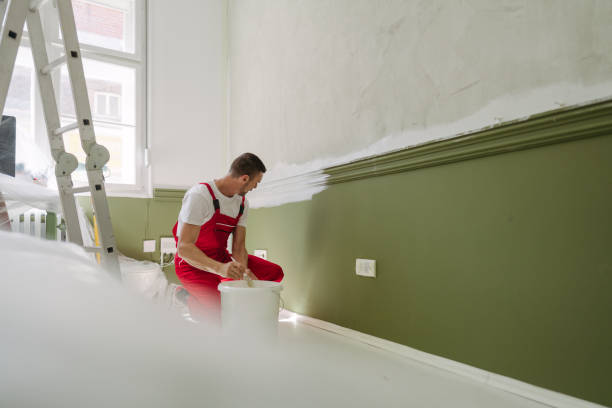
Painting a space isn’t just about choosing the right color. It involves a series of steps that require proper preparation, the right tools, and careful attention to detail. Whether you’re doing the job yourself or hiring professionals, knowing how the paint application process works can help you achieve a smooth, durable, and lasting finish.
In this post, we’ll outline the steps involved in a professional painting project, covering everything from preparing the surface to applying the final coat.
1. Surface Preparation
Before any paint is applied, surface preparation is the most important step. Without it, even the best-quality paint may not stick properly, and the result may not look as clean or last as long.
- Cleaning the Surface: The first task is to clean the surface. Dirt, grease, and dust can affect how well the paint adheres. A mild soap solution is usually enough for most surfaces. For areas with heavy grease, a stronger cleaner may be needed.
- Sanding: Once the surface is clean and dry, sanding is necessary, especially for rough or uneven surfaces. This step smooths out any imperfections and helps the paint adhere more effectively. Sandpaper or an electric sander can be used depending on the size of the area.
- Filling Holes and Cracks: Any cracks, holes, or dents should be filled with a spackling paste or joint compound. Once the filler is dry, sand the area smooth to blend it in with the rest of the surface.
- Taping Off Areas: To protect areas like baseboards, windows, or trim from getting paint on them, apply painter’s tape. Make sure it’s pressed down firmly to prevent any paint from seeping through.
2. Applying the Primer
Primer is a base coat that prepares the surface for paint, improving both the appearance and durability of the final finish.
- Choosing the Right Primer: The type of primer needed depends on the surface being painted. For new drywall, a latex primer is typically used. Wood surfaces might need an oil-based primer, and surfaces with stains require a stain-blocking primer.
- Applying the Primer: Use a brush to apply primer to edges and smaller areas, and a roller for larger sections. Apply a thin, even coat and let it dry completely before proceeding with the next steps.
3. Selecting the Right Paint
Choosing the right type of paint is crucial to achieving the desired result. There are different kinds of paints, including water-based (latex) and oil-based paints, each suited for different applications.
- Latex vs. Oil-Based Paints: Latex paint is easier to work with, dries faster, and has fewer fumes, making it ideal for interior walls. Oil-based paints, while slower to dry, offer more durability and are often used for surfaces that get a lot of wear and tear, such as doors or trim.
- Choosing the Sheen: Paint comes in a variety of finishes, such as matte, satin, semi-gloss, and gloss. The sheen affects both the appearance and durability. Matte finishes hide imperfections, while gloss finishes are easier to clean and more durable.
4. Painting the Surface
With the primer in place and the right paint selected, it’s time to apply the paint. This is where technique plays a significant role in achieving a smooth, even finish.
- Cutting In: Start by using a brush to “cut in” along edges, corners, and around trim. This involves painting smaller areas where a roller won’t reach. It’s important to use an angled brush for precision.
- Rolling the Paint: Once the edges are done, use a roller to apply paint to the rest of the surface. It’s best to work in sections, starting from the top and working down. Apply the paint in a “W” pattern to ensure an even coat.
- Applying Additional Coats: Depending on the color and type of paint, multiple coats may be required. Let each coat dry completely before applying the next. In some cases, a third coat may be necessary.
5. Drying and Curing Time
After the final coat of paint is applied, drying and curing time is necessary to ensure the paint hardens properly and reaches its full durability.
- Drying Time: While the paint may feel dry within a few hours, it may take longer to fully dry. Water-based paints typically dry faster than oil-based ones, but it’s essential to check the manufacturer’s instructions for specific drying times.
- Curing Time: Drying isn’t the same as curing. Curing is the process of the paint fully hardening. It can take several weeks for the paint to fully cure, so avoid touching or placing furniture on freshly painted surfaces during this time.
6. Touch-Ups and Final Steps
Once the paint has dried and cured, it’s time to inspect the work and make any final adjustments.
- Touch-Ups: Look over the painted surface for any areas that may have been missed or need a bit more paint. Use a small brush for touch-ups, applying the paint carefully to the affected spots.
- Removing Painter’s Tape: After the paint is completely dry, carefully remove the painter’s tape. Pull the tape at a 45-degree angle to avoid peeling the paint along the edges.
- Cleaning Up: Clean all the tools, including brushes and rollers, after use. For latex paint, use soap and water; for oil-based paints, use mineral spirits. Dispose of any leftover paint properly, following local regulations.
Final Thoughts
The paint application process may seem straightforward, but it involves several steps to achieve a professional finish. Surface preparation, applying primer, selecting the right paint, and ensuring proper drying and curing are all key to the final result. By following these steps carefully, you can achieve a paint job that looks great and lasts for years.
For those looking for professional help with their painting projects, ServiceHubAE offers skilled painting services that guarantee a smooth and reliable finish. Reach out today to get started on your next project.


 Paint
Paint